Thursday, March 27, 2025

BFF Open House


Happy almost first week of Spring done, and Friday Eve. Spring is definitely here as evidenced by my head being clogged by allergies, sneezing, and we already had our first 90+ day in So. Arizona. Our Spring seems to last a couple of weeks before we're all in shorts and sandals and whining about the heat. 🤣

How in the heck is it the end of March already?! And ugh...can we please just skip April Fool's this year? Reality is foolish enough.

This week I shared:

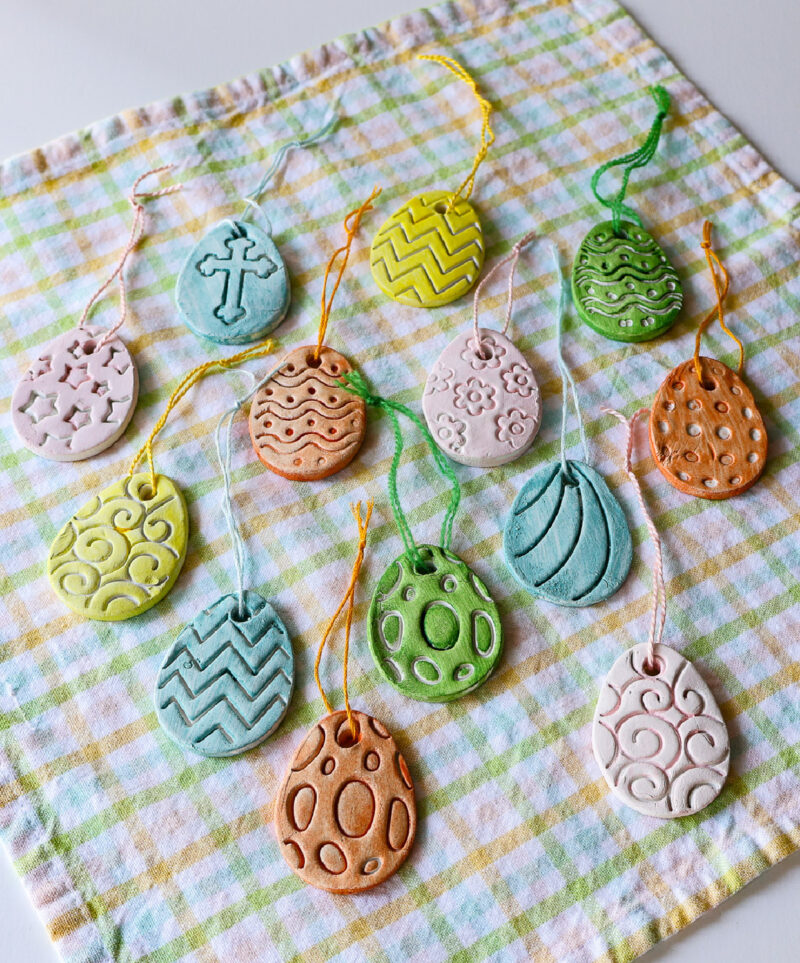
and was honored to find my Bunny Ornaments featured at this week's 

Creatively Crafty Linky Party #242

hosted each Wednesday by Artsy Fartsy Mama and Creatively Beth, both of whom you should follow if you aren't! 


Lots of fun Spring and Easter inspiration shared at last week's party so let's take a look at a few!


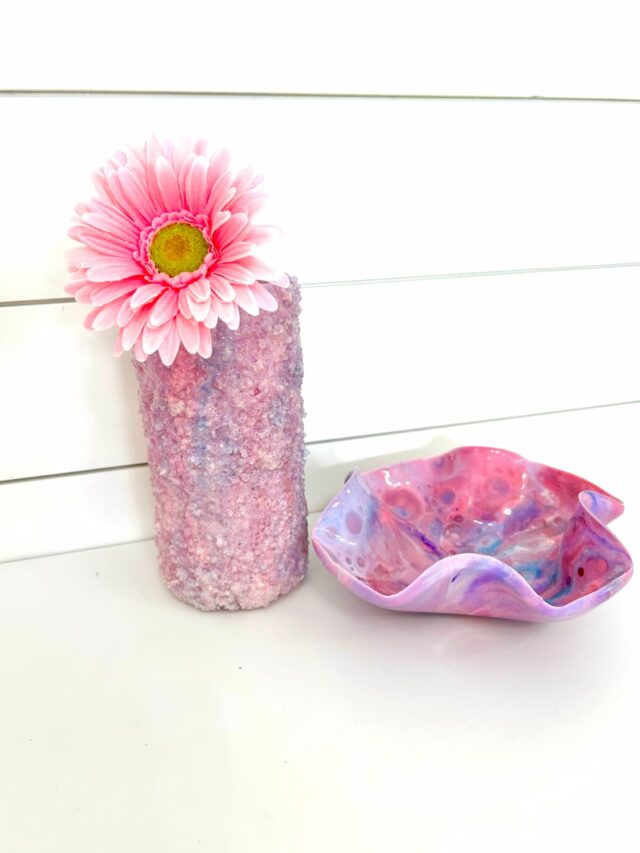
First time feature from Craft Klatch who shared this fun Rock Candy Vase tutorial! She also shows how to make the matching bowl. 


Crazy Little Love Birds shared this adorable Bunny Box Floral Arrangement which is one of my favorite types of projects...repurposing another project! 


Speaking of Creatively Beth, she shared these fabulous Egg and Bunny Button Art projects that would be fun to make for home, gifts, craft fairs etc. 


Finally, I love this creative take on charcuterie from My Thrift Store Addiction: Vintage Tea Cup Charcuterie which of course includes chocolate! 


Thanks to all who  linked up and as always, can't wait to see what you've been up to this week! 


Monday, March 24, 2025

Spring and Easter: Straw Carrot Raised Bed Boxes


Whenever Mr. Chocolate asks me "How did you think of THAT?" the answer is always the same: No clue. 

Just what my brain does. I found these straw carrots at Walmart the day after Valentine's when they were doing their switchout from Valentine's to Easter. I sometimes wish I was a pushier person because they were unboxing some cute bunny cloches but I didn't want to be that person so I figured "Oh I'll come back". WRONG. Anyhoo...

Back to the carrots. 

Supplies:
  • Straw Carrots (Walmart)
  • Wood Boxes (Dollar Tree)
  • Floral Foam (Dollar Tree)
  • Acrylic Paint (White)
  • Ribbon and Paper Roses
  • Moss Bunnies (Dollar Tree)
  • Bamboo Skewers

To the stash closet Batgirl! I knew I had some paper roses and ribbon that would go perfectly with the idea that came from nowhere. Likewise, the wood boxes I knew I'd use for something that I'd picked up from the Dollar Tree. 


I have a bunch of those wood cubes from DT so I glued them to the bottom of each box. I then painted each box with one coat of white acrylic paint. I was going for a subtle contrast with the wood and left the cube "legs" bare. 


Once the boxes were painted I grabbed my ribbon and used hot glue and tacky glue to attach.


Then I trimmed the stems from the roses and attached with hot glue. 


Next, I cut the floral foam to fit and placed inside the boxes. I didn't glue these in so I can deconstruct or re-use if needed. 


I grabbed some bamboo skewers from the kitchen because why are they even there?! and inserted them into the bottom of the carrots, cracking myself up mimicking Arya from "Game of Thrones" saying "Stick 'em with the pointy end" but I digress. I then trimmed the skewers to size and stuck them into the foam. 


I had some moss left over from something which I used to cover the foam. 


To finish, I added a couple of moss bunnies from my stash. 


They're being guarded by the Greek Wrestler Chicks

Thursday, March 20, 2025

BFF Open House


Happy Friday Eve and Happy Spring! Hopefully, you all had a fun St. Patrick's Day and that even in the colder places you're seeing signs of Spring's renewing spirit. It's been a less chaotic week at Casa Chocolate (thankfully) which allowed me to spend some time playing in my craft room. 

This week I shared: 

There were definitely signs of Spring at last week's party so let's take a look at some inspiring ideas!


Try It Like It Create It shared this fun Button Flower Bouquet. Perfect for Spring! 


My French Twist shared an incredible Upcycled Uplight from an Oatmeal container!


Bluesky At Home shared these fun and festive Air Dry Clay Easter Eggs. Fun to make for home or gifts. 


Finally, Pin these wonderful Pot O' Gold Cookies from Drugstore Divas to make next St. Patrick's Day! 


Thanks to all who linked up and can't wait to see what you've been up to this week! 


Wednesday, March 19, 2025

Spring and Easter: More Candy Holder Bunnies


Yes, I had more fun playing with candy holders from Dollar Tree! I almost called these "Velveteen Ribbon Rabbits" but then I thought about trying to say that three times fast without sounding like Elmer Fudd. 

Supplies:
  • Bunny Shaped Candy Holders (Dollar Tree)
  • Waverly No Prep Paint (Ballet Slipper)
  • Ceramcoat Glitter Paint (Charm Pink)
  • Sponge Applicator
  • Velveteen Ribbon 
  • Self Adhesive Rhinestones and Pearls
  • Gold Foil (Non-heat reactive)


Used these candy holder containers from Dollar Tree and the Waverly and Ceramcoat paints. Apply the Waverly paint with a sponge applicator.


Once the containers are covered with the matte paint and it's dry, apply the glitter coat. 


I grabbed some gold foil from my stash (this is the kind that's not heat reactive, nor is it gold leaf...this just requires a tacky adhesive). I went over the raised portions of the bunny faces...ears, nose, whiskers. 


I lightly dry brushed white paint across the faces, and had some self-adhesive pink pearls and antique gold rhinestones in my embellishments so I used those for the eyes, nose and tongue as shown. 


To finish, I grabbed some white velveteen ribbon I picked up at Walmart after Christmas at 75% off and made bows, attached with hot glue as shown, and made hangers from black and gold baker's twine. 


I usually wait until something's finished before sharing but I'm showing my Bunny Tree as it evolves. I haven't decided if I'm adding eggs or not, and need a topper, but here it is as it stands now. 


Monday, March 17, 2025

Spring and Easter: Black White and Gold Chickies


I mentioned in my Bunny Candy Holder to Ornament post that I also bought some Chick Candy Holders at Dollar Tree. I thought I was going to make these into ornaments too but I decided they were cuter free standing or placed in a basket. Mr. Chocolate thinks they look like ancient Greek Olympic wrestlers! 

Supplies
  • Chick Egg Candy Holders (Dollar Tree)
  • White No Prep Paint (Waverly)
  • Gold Acrylic Paint (Craft Smart)
  • Gold and Black Baker's Twine


Like the bunny version, they're cute as is. But we're Makers right? Does anything remain as is?!


Same process as the bunnies, I used a sponge spouncer to apply white Waverly no prep paint all over. 


Again, I didn't glue the two halves together since I knew I'd be wrapping something around them that would hold them. Yes, the eyes disappear but we'll take care of that!


I grabbed some black self adhesive rhinestones from my stash and added a drop of glue for extra stick. I used a small detail paint brush to paint the wings and feet gold. This took a couple of coats to cover the orange. It's also odd to me that Waverly makes a silver but I've been unable to find that they make a gold. 

I had this black and gold baker's twine in my stash that I thought worked well with these, picking up the god accents and the black eyes. I dabbed one end with glue to keep the fraying to a minimum, then wrapped as shown and did the same with the second end. 


For now, they're sitting on my entryway table until I finish my decorating and they may just stay where they are. Or not!